Tested on Raspberry Pi 5 Model B, should work on CM5, 500, and Pi 4
Introduction
Perhaps some of you are still confused about how to install the Raspberry Pi operating system on the Raspberry Pi itself. So, I’ll teach you in this article.
Table of Content
Installing Pi Imager
- Navigate to this website (click it)
- Download the latest version as an AppImage. Make the AppImage executable.
- Run AppImage as root
- Launch.
Flashing Images
-
In the Device tab, select your Raspberry Pi model from the list. Select Next.
-
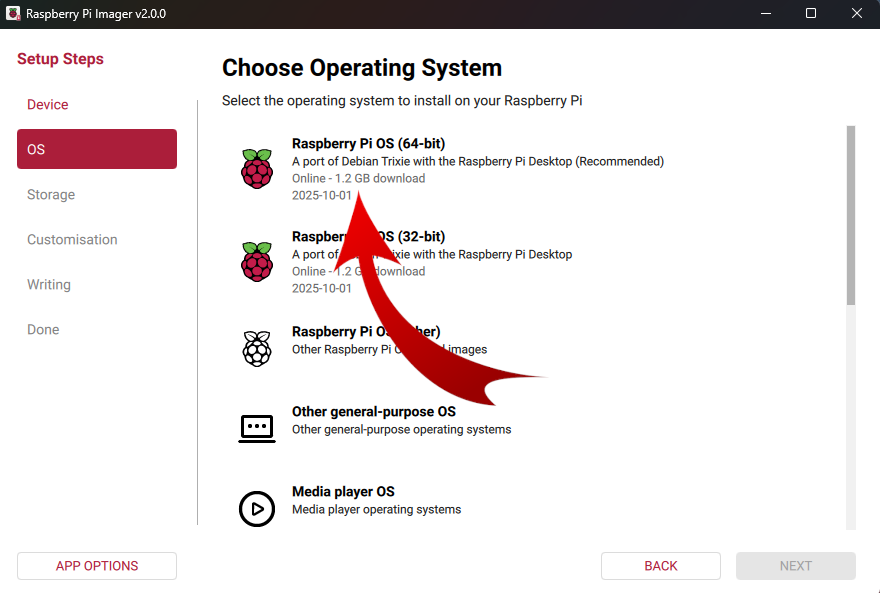
In the OS tab, select Raspberry Pi OS (64bit)
-
Connect your preferred storage device to your computer. For example, plug a microSD card in using an external or built-in SD card reader.
-
In the Storage tab, select the device to write image to it. Select Next
Warning: If you have more than one storage device connected to your computer, be sure to choose the correct device! You can often identify storage devices by size. If you’re unsure, disconnect other devices until you’ve identified the device you want to image. Imager warns you if you attempt to overwrite a system drive on your computer.
Customize the OS
Sources
https://www.raspberrypi.com/documentation/ https://www.raspberrypi.com/documentation/computers/os.html